
7 steps to become an author illustrator – Step 1: Top tools for a head start
Join Red, Woody and me on the ‘heart flower path’ and retrace our journey to becoming traditionally published
Over the next 7 days, right up to the publication day of my debut Red and the City on 6 September, I will share my journey and top tips that have made me a published author illustrator with one of the best literary agents in the world and a 6-picture-book-deal across two major publishers – despite not having a degree in Art, Illustration or Literature!
In fact, anything really useful I have ever learned and that has really helped me make a living, I learned outside of school and universities, through focussed self-directed learning, using the below easily available and comparably low-cost tools.
So I really believe ANYONE (with the right mindset) can become a traditionally published author illustrator! And with the experience and tips I’ll share over the next 7 days and posts, you can achieve it much more quickly than I did it, too!
N.B. I am in no way affiliated with any of the tools I mention in this post, I am just genuinely passionate about them which is why I want to share them with you!
Ready Red and Woody? Woof!! Then let’s go!
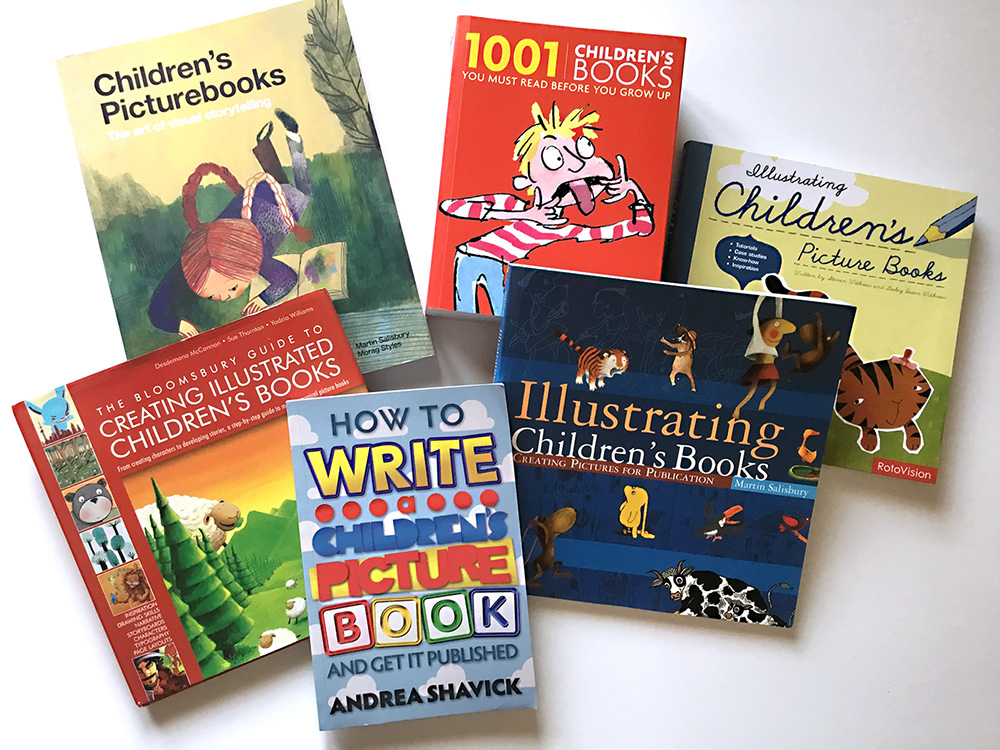
Useful books on ‘How To Write Picture Books’
These are the books I bought and read back in 2012 when I decided I wanted to become an author illustrator after reading picture books to my friends’ children. I believe these books (and even just one or two of them!) give a VERY STRONG foundation without necessarily needing to do the much more expensive writing & illustration courses.
CityLit & other children’s book courses
I did a 3 month (1 evening a week) course in Children’s Book Illustration at CityLit in London with the brilliant Dee Shulman. This is great if you happen to live there and can afford it (I paid about £500 back in 2012 I believe). There are also the very popular degree courses like the MA in Children’s Book Illustration at Cambridge School of Art (Anglia Ruskin University) and many others which have definitely produced some well-known author illustrators over the years. On top of that you have options like the Curtis Brown Creative Writing School led by literary agents, the Golden Egg Academy and more. But don’t sweat it if you can’t do any of these! Thanks to the above books, lots of free online content and, maybe most importantly, the outstanding online resource I found the ‘Society of Visual Storytelling‘ to be (more below), you can become a top class professional author illustrator at your own pace and for a fraction of the cost.
Study existing picture books that you like
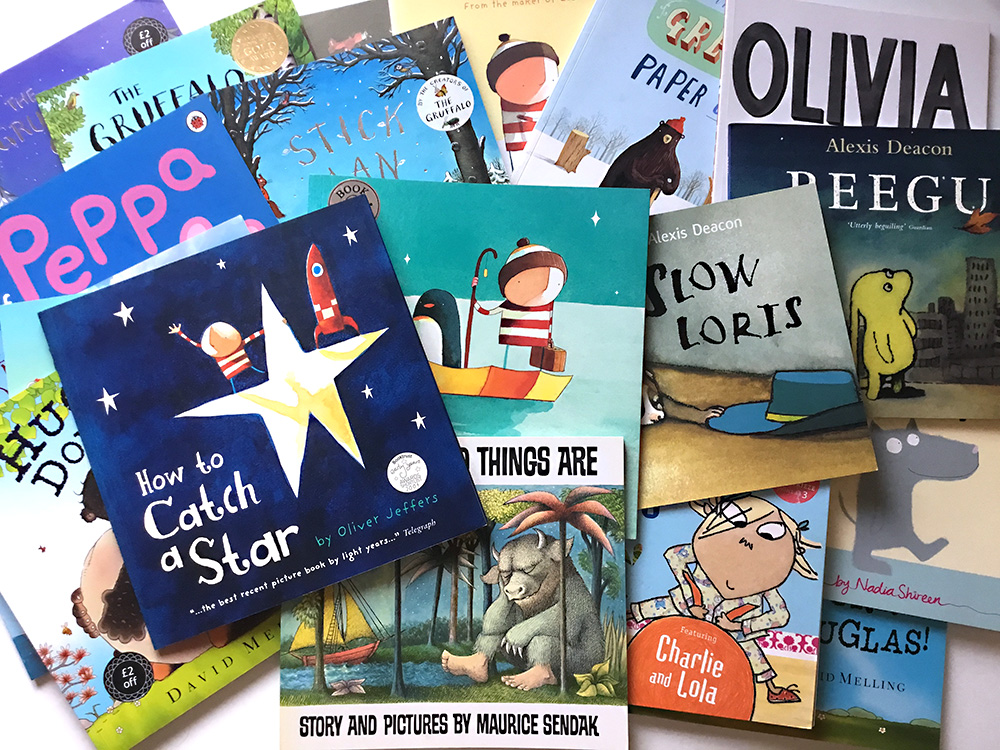
In 2012 I also bought a range of picture books (see above) I could reference when working on my own stories and dummy books. More about that in tomorrow’s post! (You can see I’ve always loved Oliver Jeffers’ books! In fact, his ‘How to Catch A Star’ completely took my breath away and sealed my desire of wanting to become and author illustrator.)
But you don’t even need to BUY books if you can’t afford it! Just looking through children’s books in your local bookshop or borrowing them from a library, as well as watching the ‘Read Alouds’ on YouTube will get you very far for absolutely free!
Tools that have made me
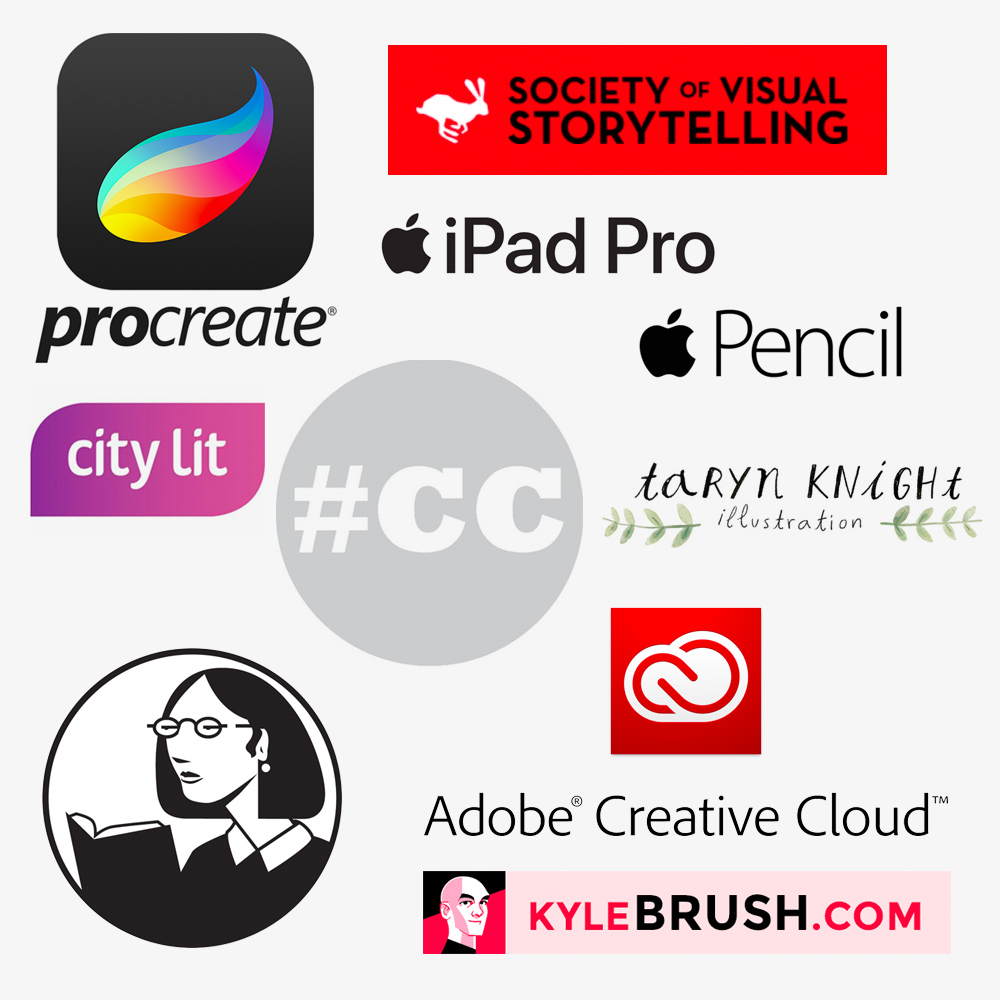
Society of Visual Storytelling (SVS)
Even just doing a few courses with SVS, or even subscribing just for one month and really focusing on the course content you want to learn, will get you to work and feel like a ‘professional’ in no time. It is run by super experienced, successful, working industry professionals with an immense wealth of real-world knowledge. They also have amazing free webinars which make you feel like you’re not alone in this and where I learned for instance how to put together a great illustration portfolio, which really helped to get me noticed, and that webinar was completely free!
Lynda.com
Lynda.com is an invaluable resource if you want to learn Photoshop inside out (but SVS teaches you Photoshop better from an illustrator’s point of view) and InDesign to create professional book layouts and beautiful designs (maybe for book covers, your website, or promo material). But definitely not a must for author illustrators as the publishers have teams to help with layouts and design. I only wanted to share it, as prior to retraining myself as author illustrator, I became a very successful graphic and web designer, mainly thanks to Lynda.com, where I learned to master all of the Adobe Creative Suite (now Cloud) in a very short time.
In general, with any video tutorial, I love the fact that I can rewind the tutor whenever I don’t get something the first time around! 🙂
#Colour_Collective on Twitter
Like with many of the tools in this list, I wished I’d come across this one much sooner. It’s a weekly challenge where you make work based on a single colour they set. Beginners and seasoned illustrators and anyone in between takes part, with everyone posting their work at the same time every Friday night. Taking part in this will help you in two major ways: Firstly, you really start creating better artwork when focussing on a given colour scheme. Secondly, particularly useful if you don’t have many Twitter followers yet, your work gets exposed to a big and active community, you receive encouragement, followers and a sense of what people like best about your work so you can potentially hone in on that more.
Other illustrators, the internet & Google
Apart from being inspired by other #Colour_Collective illustrators, I also learned a lot from top illustrators such as Taryn Knight in her ‘Drawing Process’ and completely free YouTube videos. And once you start watching some of these, you’ll see loads more excellent free video tutorials by other illustrators in the YouTube sidebar.
In general, I love using the Internet and Google for instantly finding answers to anything (Just google ‘How to write a children’s book’) and you may find you don’t even need the above-mentioned books anymore!).
I also constantly use the internet for finding just the right reference photo or illustration, which coupled with the techniques I’ve learned at SVS about ‘How to draw anything’ enable me to very quickly draw LITERALLY anything at any angle I want.
Traditional or Procreate or Photoshop?
Having tried them all, I now strongly believe in picking the tools (whether traditional media or digital or both) that you enjoy using the most. People will see if you had fun making the artwork. Ultimately, I think this is much more important than doing something because you think that’s what you should be doing.
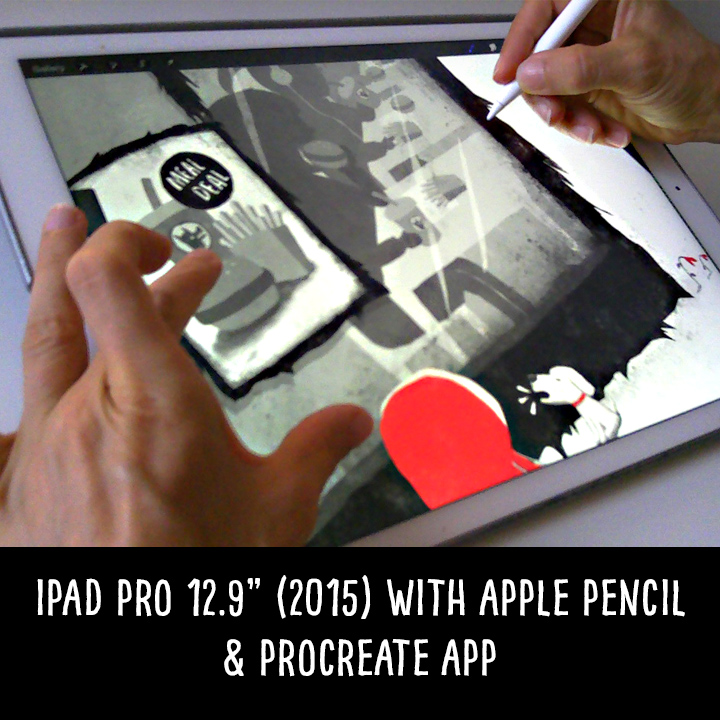
For many illustrators nowadays the tool of choice will be Photoshop because they have used it the longest and know it, but for me it’s mainly Procreate these days as it’s closest to my natural drawing and painting experience on paper. (I still use some Photoshop though for final colour corrections, converting to CMYK colour profile which the publishers ideally want the files in etc.) I love using the iPad Pro 12.9″ (mine is the 2015 model) and Apple Pencil with Procreate, the screen is more than big enough and the combo is super responsive, no waiting for a brush line to catch up. Plus I can quickly and smoothly rotate the canvas with my fingers and ‘pinch zoom’ in and out. And with a (completely optional!) anti-glare, slightly textured matt screen protector from TechArmor it really feels and even sounds like drawing on paper! But for me it’s even better than paper, because I love having the flexibility that comes with digital. Plus I can quickly and easily create even final artwork propped up in bed or on the couch, as I sometimes do when I’ve worked through the night and am too shattered to stand or sit up straight at my desk the next day :-).
My workhorse
Kyle T Webster Brushes
If you work with Photoshop, a great resource for children’s book illustrators are the Kyle T Webster brushes, which are now part of Photoshop/Adobe Creative Cloud I believe. Those brushes just are the most beautiful and most realistic natural media brushes for illustrators. Even just using those brushes will immediately make you look more like the real deal!
This has become a rather a long post in the end, but I just wanted to give you as much information as possible on the tools that have really helped me become a published author illustrator.
I hope to see you again tomorrow when we’ll take Step 2 – Tips on ‘Creating for Success’ – on our journey with Red and Woody along the heart flower path …